Universal Settings for Better Wireless Signal
Whether you're running a Wi-Fi 6 router or have already upgraded to Wi-Fi 7, it's important to understand which settings will give you the best performance. The answer might surprise you, as most homes are considered low-density environments, meaning you don’t need to optimize for high traffic like an office building.
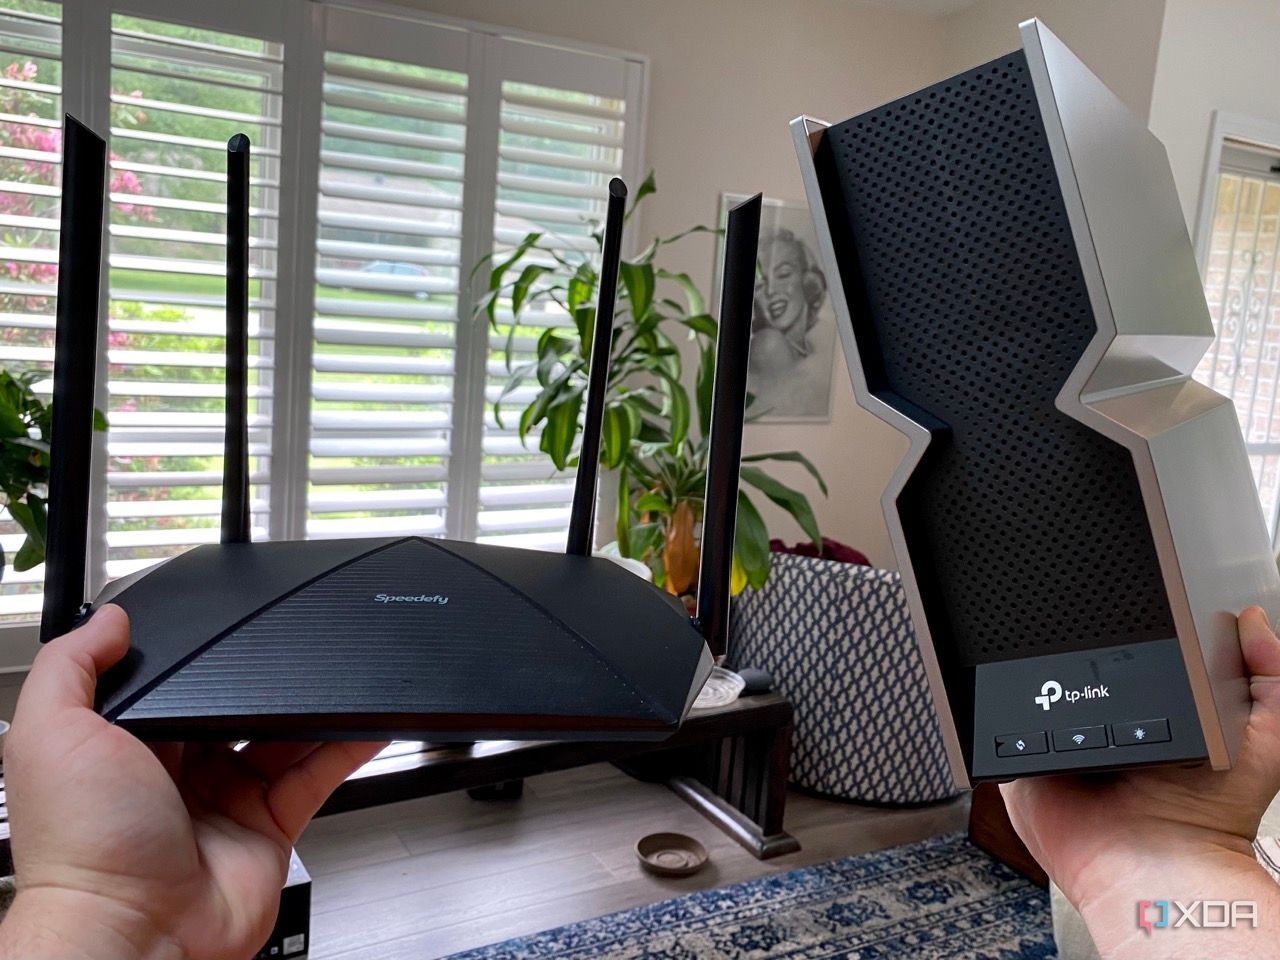
If you haven't started looking for a new router yet, either Wi-Fi version should be suitable for your needs. However, I would recommend Wi-Fi 6E over Wi-Fi 6 because of the 6GHz band, which offers significant improvements in wireless connectivity. That said, any new router will require some optimization based on your specific living space, so let’s dive into the details.
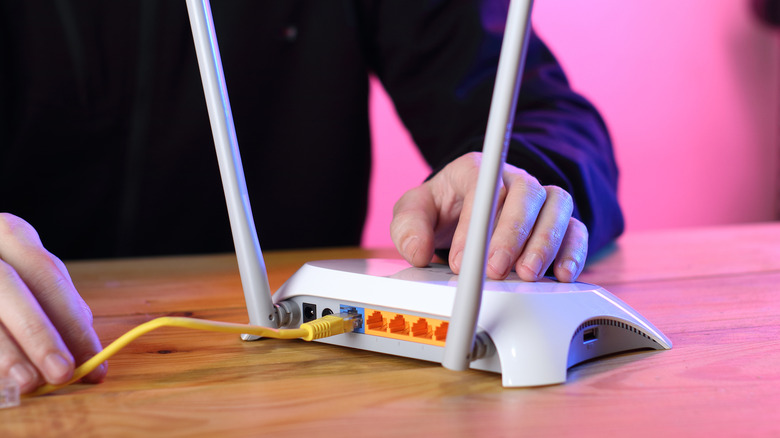
Before focusing on specific Wi-Fi versions, there are some general tips that apply to all routers. Your router should be placed in a central location, at a height above waist level, and away from obstacles such as TVs or shelves. If your router supports automatic firmware and security updates, enable those so you don’t have to worry about them manually. If not, set a reminder to check for updates periodically.
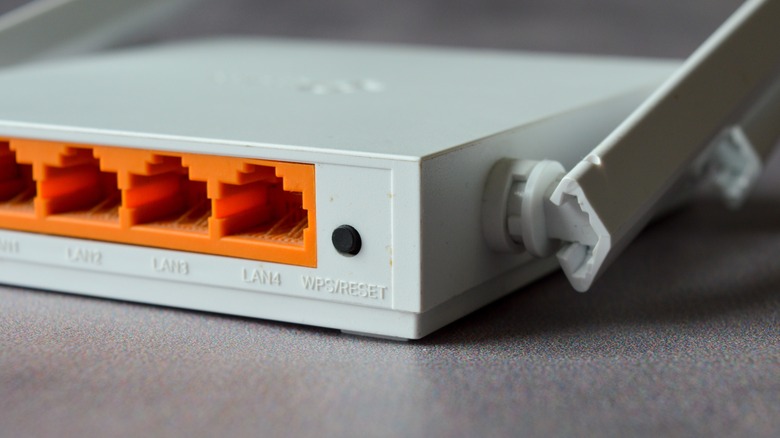
Another key setting is to configure your Wi-Fi SSID to a single, unique name across all bands your router supports. This ensures that devices can connect reliably to the best available band. Enable band steering if it isn’t already active, so the router can direct devices to the preferred band. The only issue I've encountered with a unified SSID is with some IoT devices that only support 2.4GHz. In such cases, you can temporarily separate the bands to connect those devices and then restore the settings.
For security, make sure you’re using at least WPA2, and preferably WPA3 if available.
Wi-Fi 6: A Solid Home Network
Wi-Fi 6 provides a strong foundation for home networks, but the settings you should enable are relatively limited. Beamforming should be turned on for better connection stability, and using WPA3 for security is recommended. If your router supports Wi-Fi 6E, take advantage of the 6GHz band whenever possible. Keep in mind that the 6GHz band has a shorter range compared to 5GHz or 2.4GHz. Additionally, many mesh networks use one of the bands for wireless backhaul, which could cause devices to disconnect unless you use wired backhaul between nodes.
For optimal channel widths:
- 20 MHz for 2.4GHz – this minimizes interference
- 80 MHz for 5GHz – to maximize throughput
- 160 MHz for 6GHz – if available, for both throughput and compatibility
Most modern routers are designed to automatically adjust these settings for the best signal, so you may not need to change anything unless you encounter issues.
Wi-Fi 7: More Features, But Not All Are Needed
Wi-Fi 7 brings several new features that can significantly boost speeds, but not all of them will be useful if you have older devices on your network. One of the key features is Multi-Link Operation (MLO), which allows Wi-Fi 7 clients to combine multiple wireless bands for higher throughput. This makes the idea of using multiple bands more effective than ever before.
Set the same channel widths as with Wi-Fi 6E, but you can try 320 MHz for the 6GHz band. If you experience connectivity issues, reduce this setting. Not all devices will work well with Wi-Fi 7, especially older IoT devices. If your smart home devices start having problems, create a guest network that uses only the 2.4GHz band and connect your smart devices to that. This should resolve compatibility issues without disabling advanced Wi-Fi 7 features.
Most Homes Don’t Need Advanced Settings
For the average home, most settings are handled automatically by modern routers. These devices are capable of delivering great performance with minimal input, so you can mostly leave them alone. If you're using prosumer-grade hardware, you may need to tweak settings like transmit power on access points, but even then, advanced features are typically designed to be left untouched. Focus on placing your router correctly and ensuring your network is secure for the best results.