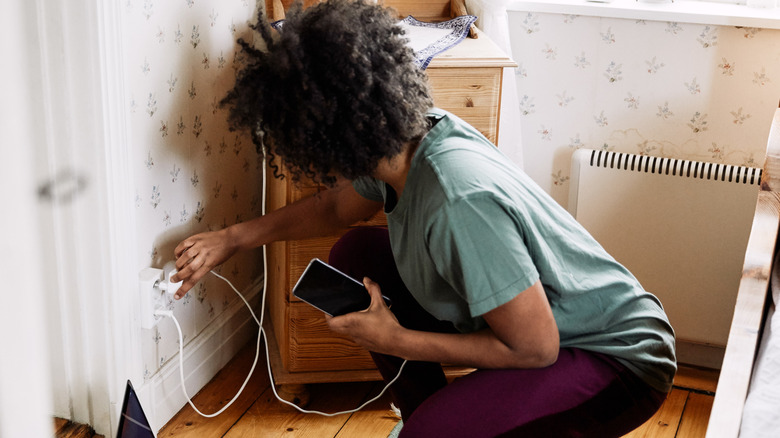
The Benefits of a Charging Station at Home
A charging station is an excellent addition to any home, offering numerous advantages that can simplify daily life. It eliminates the frustration of searching for a phone that's on 3% battery and prevents the chaos of tangled charging cables. These stations not only keep devices organized but also add a neat and tidy look to any space. Building one can be both easy and affordable, especially with creative DIY solutions.
One such solution comes from an Instagram creator named @dreamyabode.us, who has shared a clever IKEA hack. This method uses two MOSSLANDA Picture Ledges to create a sleek and functional charging station that costs around $20. The design is both practical and aesthetically pleasing, making it a great fit for any room.
How the Charging Station Works
The station is constructed by placing one MOSSLANDA Picture Ledge upright and another upside down on top of it. When closed, it appears as a slim wooden rectangle attached to the wall. To use it, simply flip the top ledge down, creating a shelf where devices can be charged. This setup helps manage charging cables more efficiently, keeping them organized and out of sight.
The design is particularly suited for shorter cables, which are often challenging to manage. By flipping the lid, users can quickly access their devices while maintaining a clean and clutter-free space.
Choosing the Right Location
When deciding where to install the charging station, consider the layout of the room. In a living room, position it in line with a sofa's armrest for a flowing aesthetic. This location also makes it convenient for answering calls. Aligning it with other fixtures like bookshelves or TV tables can help maintain a clean visual line.
Building Your Own Charging Station
To build this charging station, you'll need two MOSSLANDA Picture Ledges and two small hinges. Connect the ledges by joining the taller side of one to the short side of the other using the hinges. This creates a rectangular tube that can be closed. Before attaching the hinges, you can chisel out a hinge-sized gap in the wood so the hinge sits flush with the surface and closes the gap between the two pieces.
Next, measure and drill holes in the wall, ensuring the ledges will be level. Screw the hinge-free, tall side of one of the ledges into the wall, ideally into studs. Once mounted, the two ledges should form a "step" with the moving ledge at a lower height than the one attached to the wall. Check that they close easily and fit together well.
Place a power strip in the top section with a cable long enough to reach a power outlet. Plug your charging cables into the power strip, and your station is ready to use. While the cables live in the top section, the bottom ledge is a comfortable width for most phones. Phones being charged sit securely in the bottom ledge. For safety, remember to unplug the extension cord when you're not using it. Also, move the wires out of the way carefully when you close the bottom ledge. Regularly check the cable for any signs that indicate you should replace your phone charger immediately.
Customizing Your Charging Station
The MOSSLANDA Picture Ledge comes in a wooden oak finish, as well as white and black options, allowing you to choose a style that matches your room's decor. You can also prime and paint the ledges or add stenciled designs, vinyl elements, or other embellishments to personalize the look.
For households with many devices, consider using the MOSSLANDA 45 ¼-Inch Picture Ledge to create a larger charging station. If you go for the longer ledge, use more hinges to support the extra weight and add a couple more attachment points to the wall to ensure it's firmly attached.
Additional Tips for Installation
If you have an outlet higher up on the wall, mount your charging station over it to eliminate the dangling extension cable that can be an eyesore when the station is in use. Measure the dimensions of the plug point and cut out a slightly larger piece on the section of the shelf that gets attached to the wall. Check the fit and adjust if needed before attaching the ledge to the wall.
If you have to trail a cable, you can always hide unsightly cords around the house with a simple and stylish DIY solution. For an even more organized look, consider eliminating the charging cords. While you may want a top-rated wireless charger to give your nightstand that perfectly sleek look, smaller and more streamlined versions of these ports also work beautifully inside a charging station. Keep the wireless charger inside the enclosed station, and open it to place your phone on the charger without the need to plug it in.
0 comments:
Ikutan Komentar